技適済 UWBユニット、開発中 🛰
M5Stack に挿すだけで UWB の距離・方向(AoA)。Murata Type 2DK / 2BP 搭載・技適クリーン。先行情報はこちら。
ブログ
-
Making ‘PQC in a TPM is C-only’ a half-truth — the first Rust-native TPM 2.0 v1.85 PQC (ML-KEM/ML-DSA), byte-checked against C and shipped on crates.io
🇯🇵 この記事の日本語版 → TPMに、Rustだけでポスト量子を喋らせた TL;DR What this i…
-
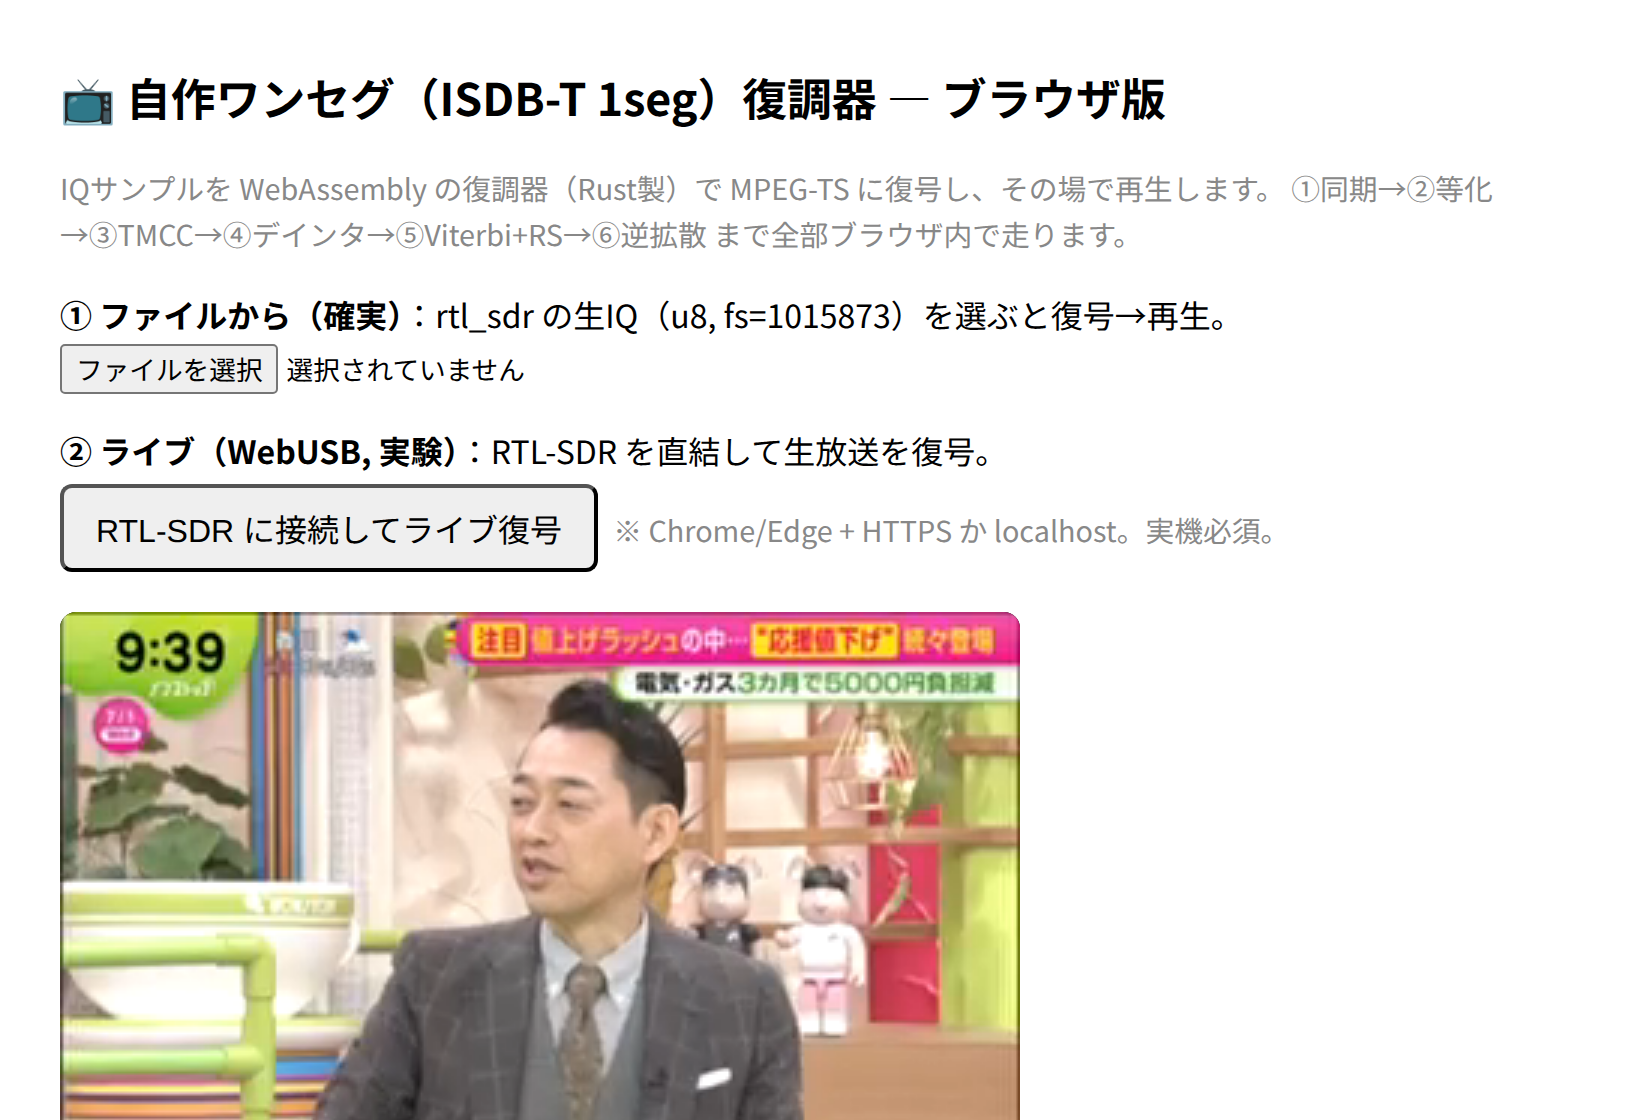
「URLを開くとテレビが映る」を、本当にやる ── 自作ワンセグ復調器#5:Rust復調器をWASMにして、WebUSBでドングルを直結し、ブラウザの中で地デジが映像も音声も鳴るまで
#4 の最後に、こう書いた。「次は WASM+WebUSB でブラウザに載せて、『URLを開くとテレビが映る』…
-

実電波が、映像になった ── 自作ワンセグ復調器#4:壁アンテナでC/Nの壁を越え、逆拡散→RSでMPEG-TSを解き、テレビが映るまで
#3 は、C/Nの壁に阻まれて終わった。FECは雑音床を超えられず、誤り訂正が効かない ── 較正でそれを証明…
-
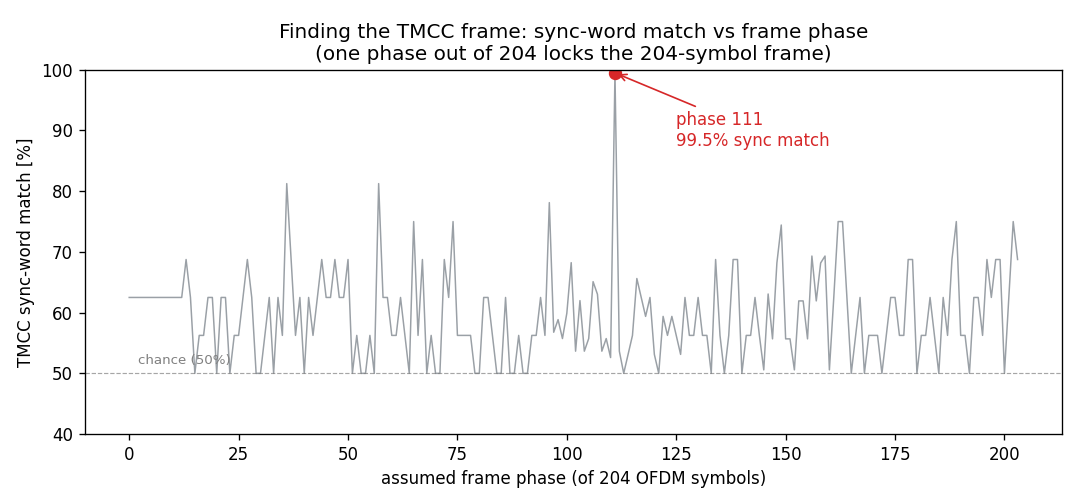
電波に局の設定を喋らせる、そして壁にぶつかる ── 自作ワンセグ復調器#3:TMCC復号と、C/Nの壁を較正で証明する
#2 で ③チャネル等化が通り、関西テレビのワンセグから QPSKのコンスタレーションが見えた。今回はその先 …
-

ワンセグのQPSKが見えた ── 自作ワンセグ復調器#2:スキャッタードパイロットでチャネルを割り、電波自身に答え合わせをさせる
#1 で ② OFDM同期が関西テレビの生電波にロックした。今回は約束どおり、その続きの ③ チャネル等化を実…
-
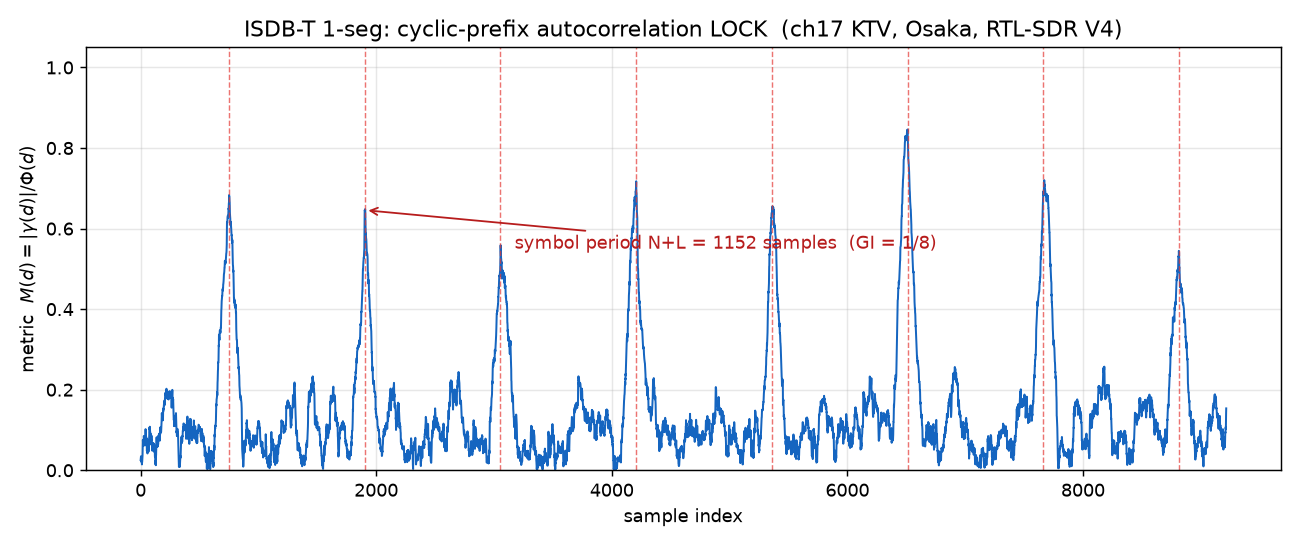
GI=1/32と出た、でも嘘だった ── 自作ワンセグ復調器#1:CP自己相関で実電波にロックし、周期性でGIを当て直す
#0 で RTL-SDR Blog V4 を母艦で動かすところまで来た。今回からいよいよ信号処理。復調器の最初…
-
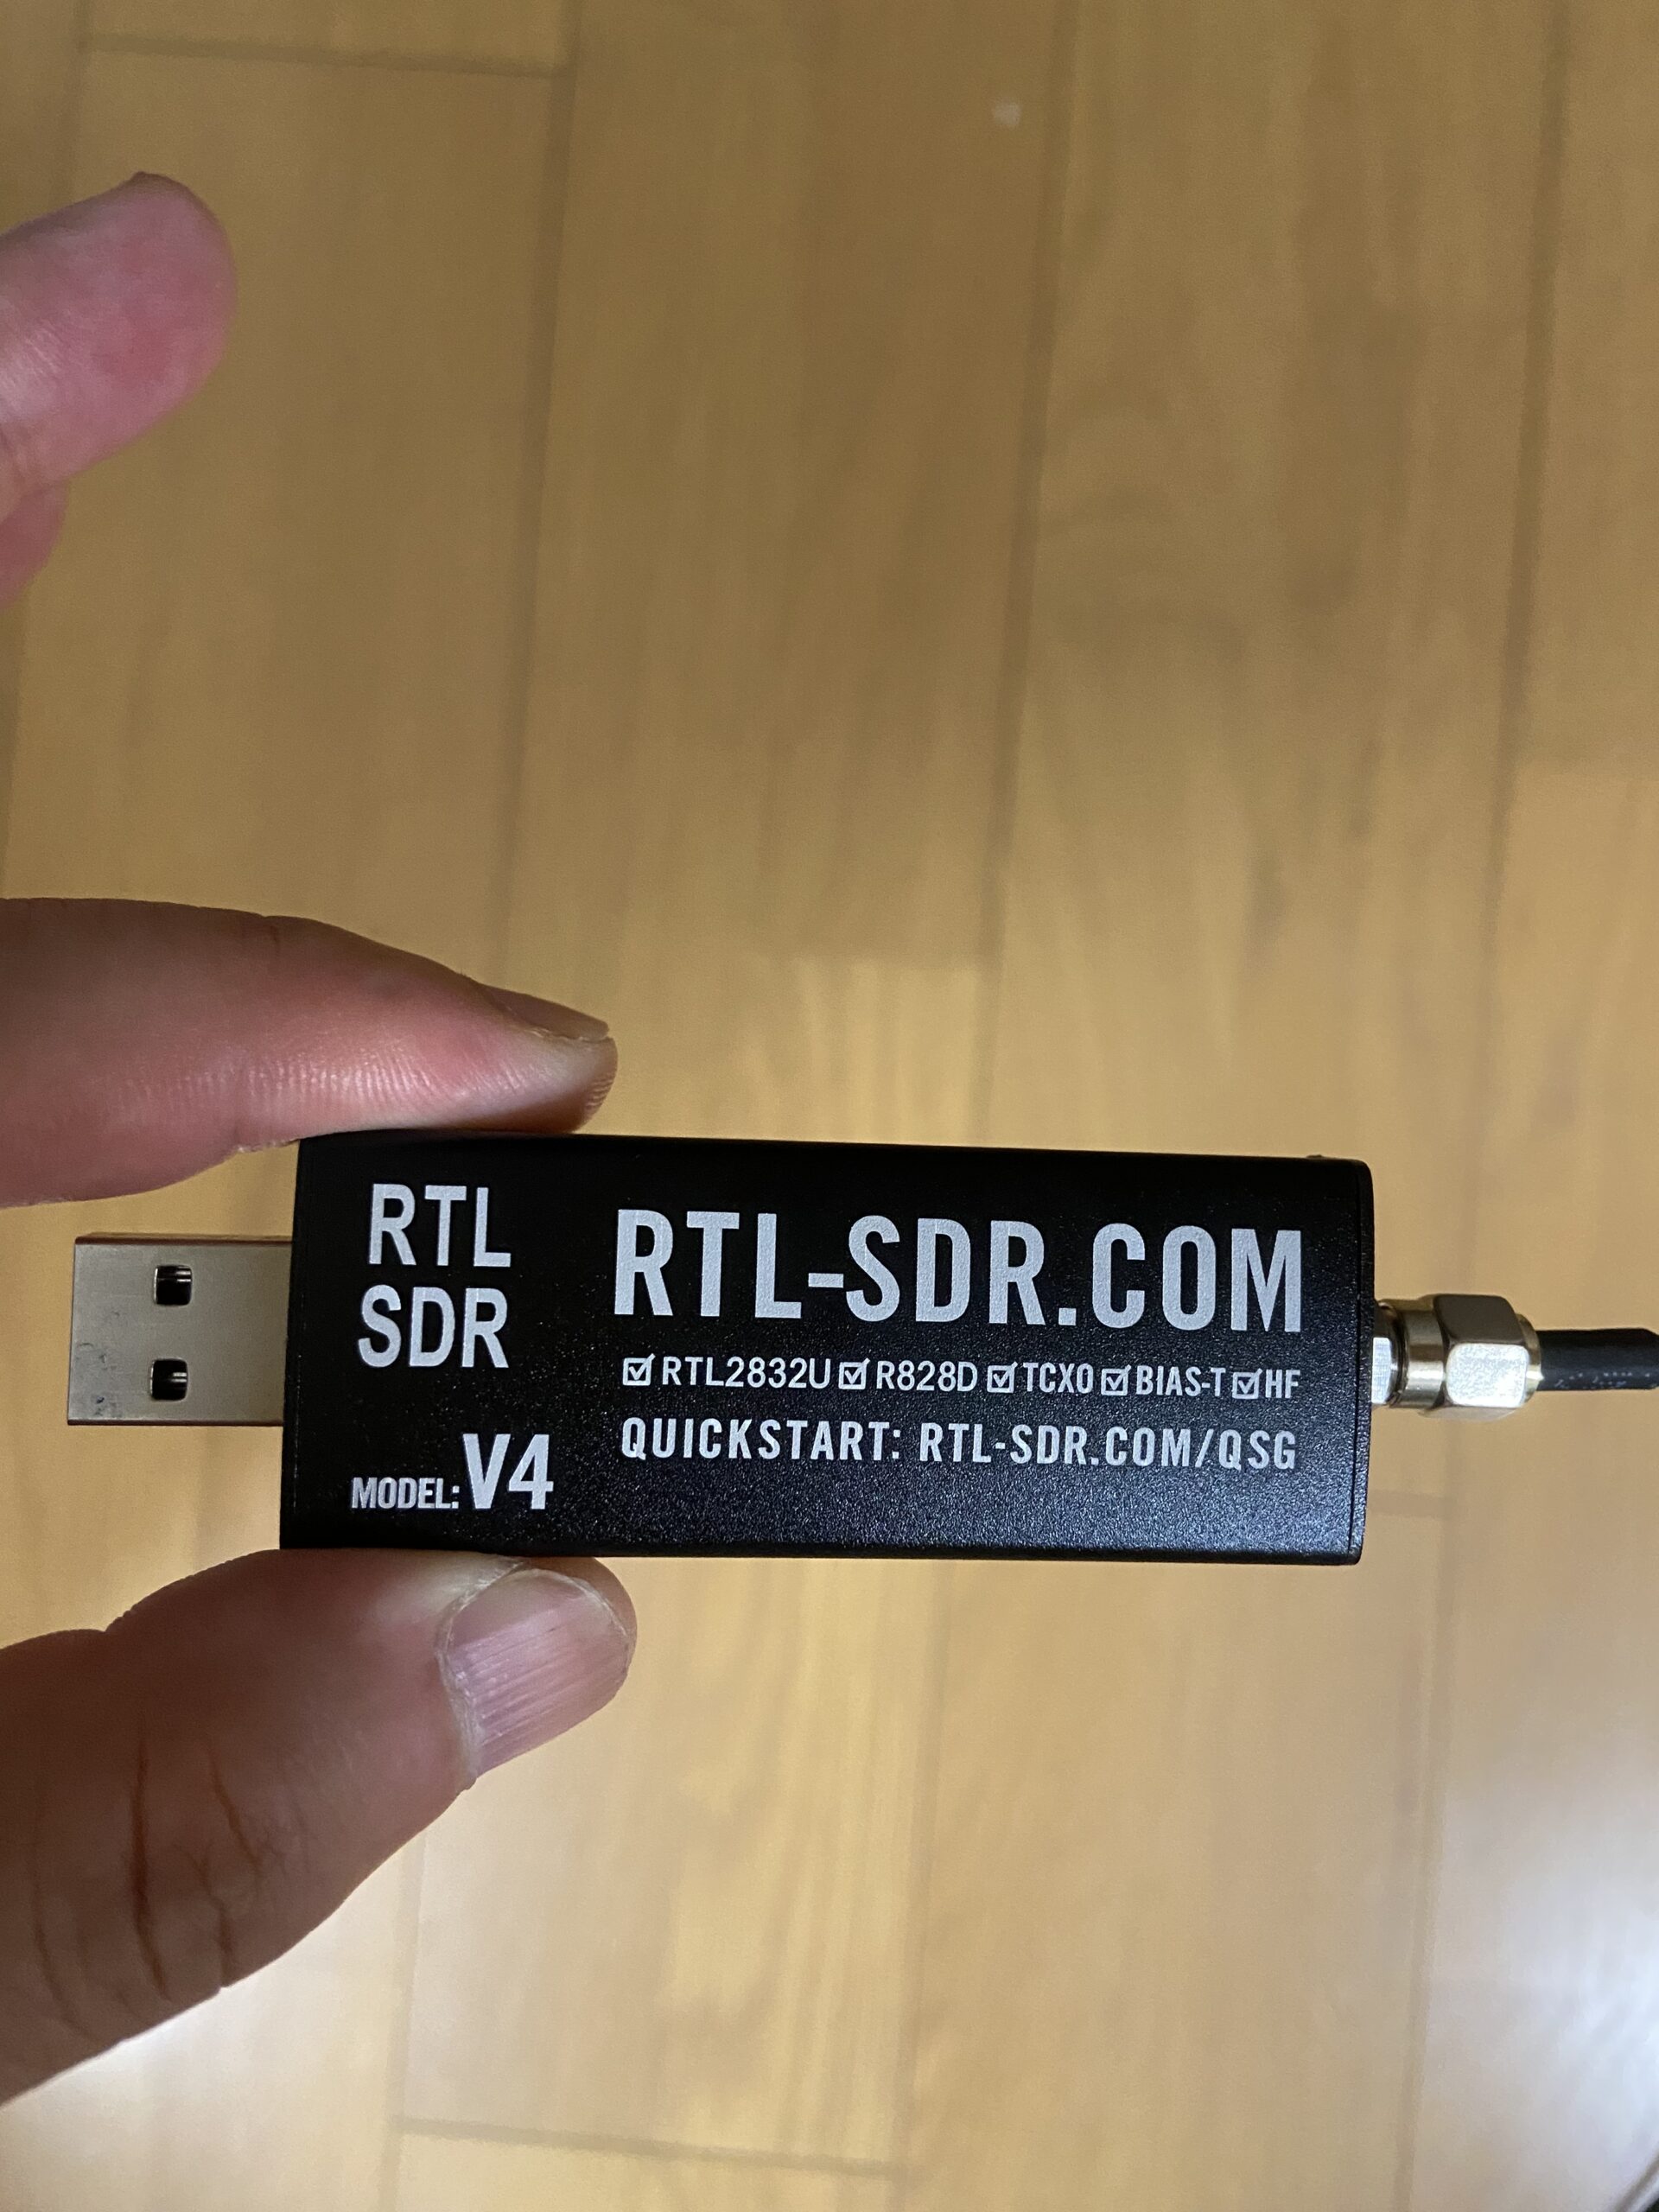
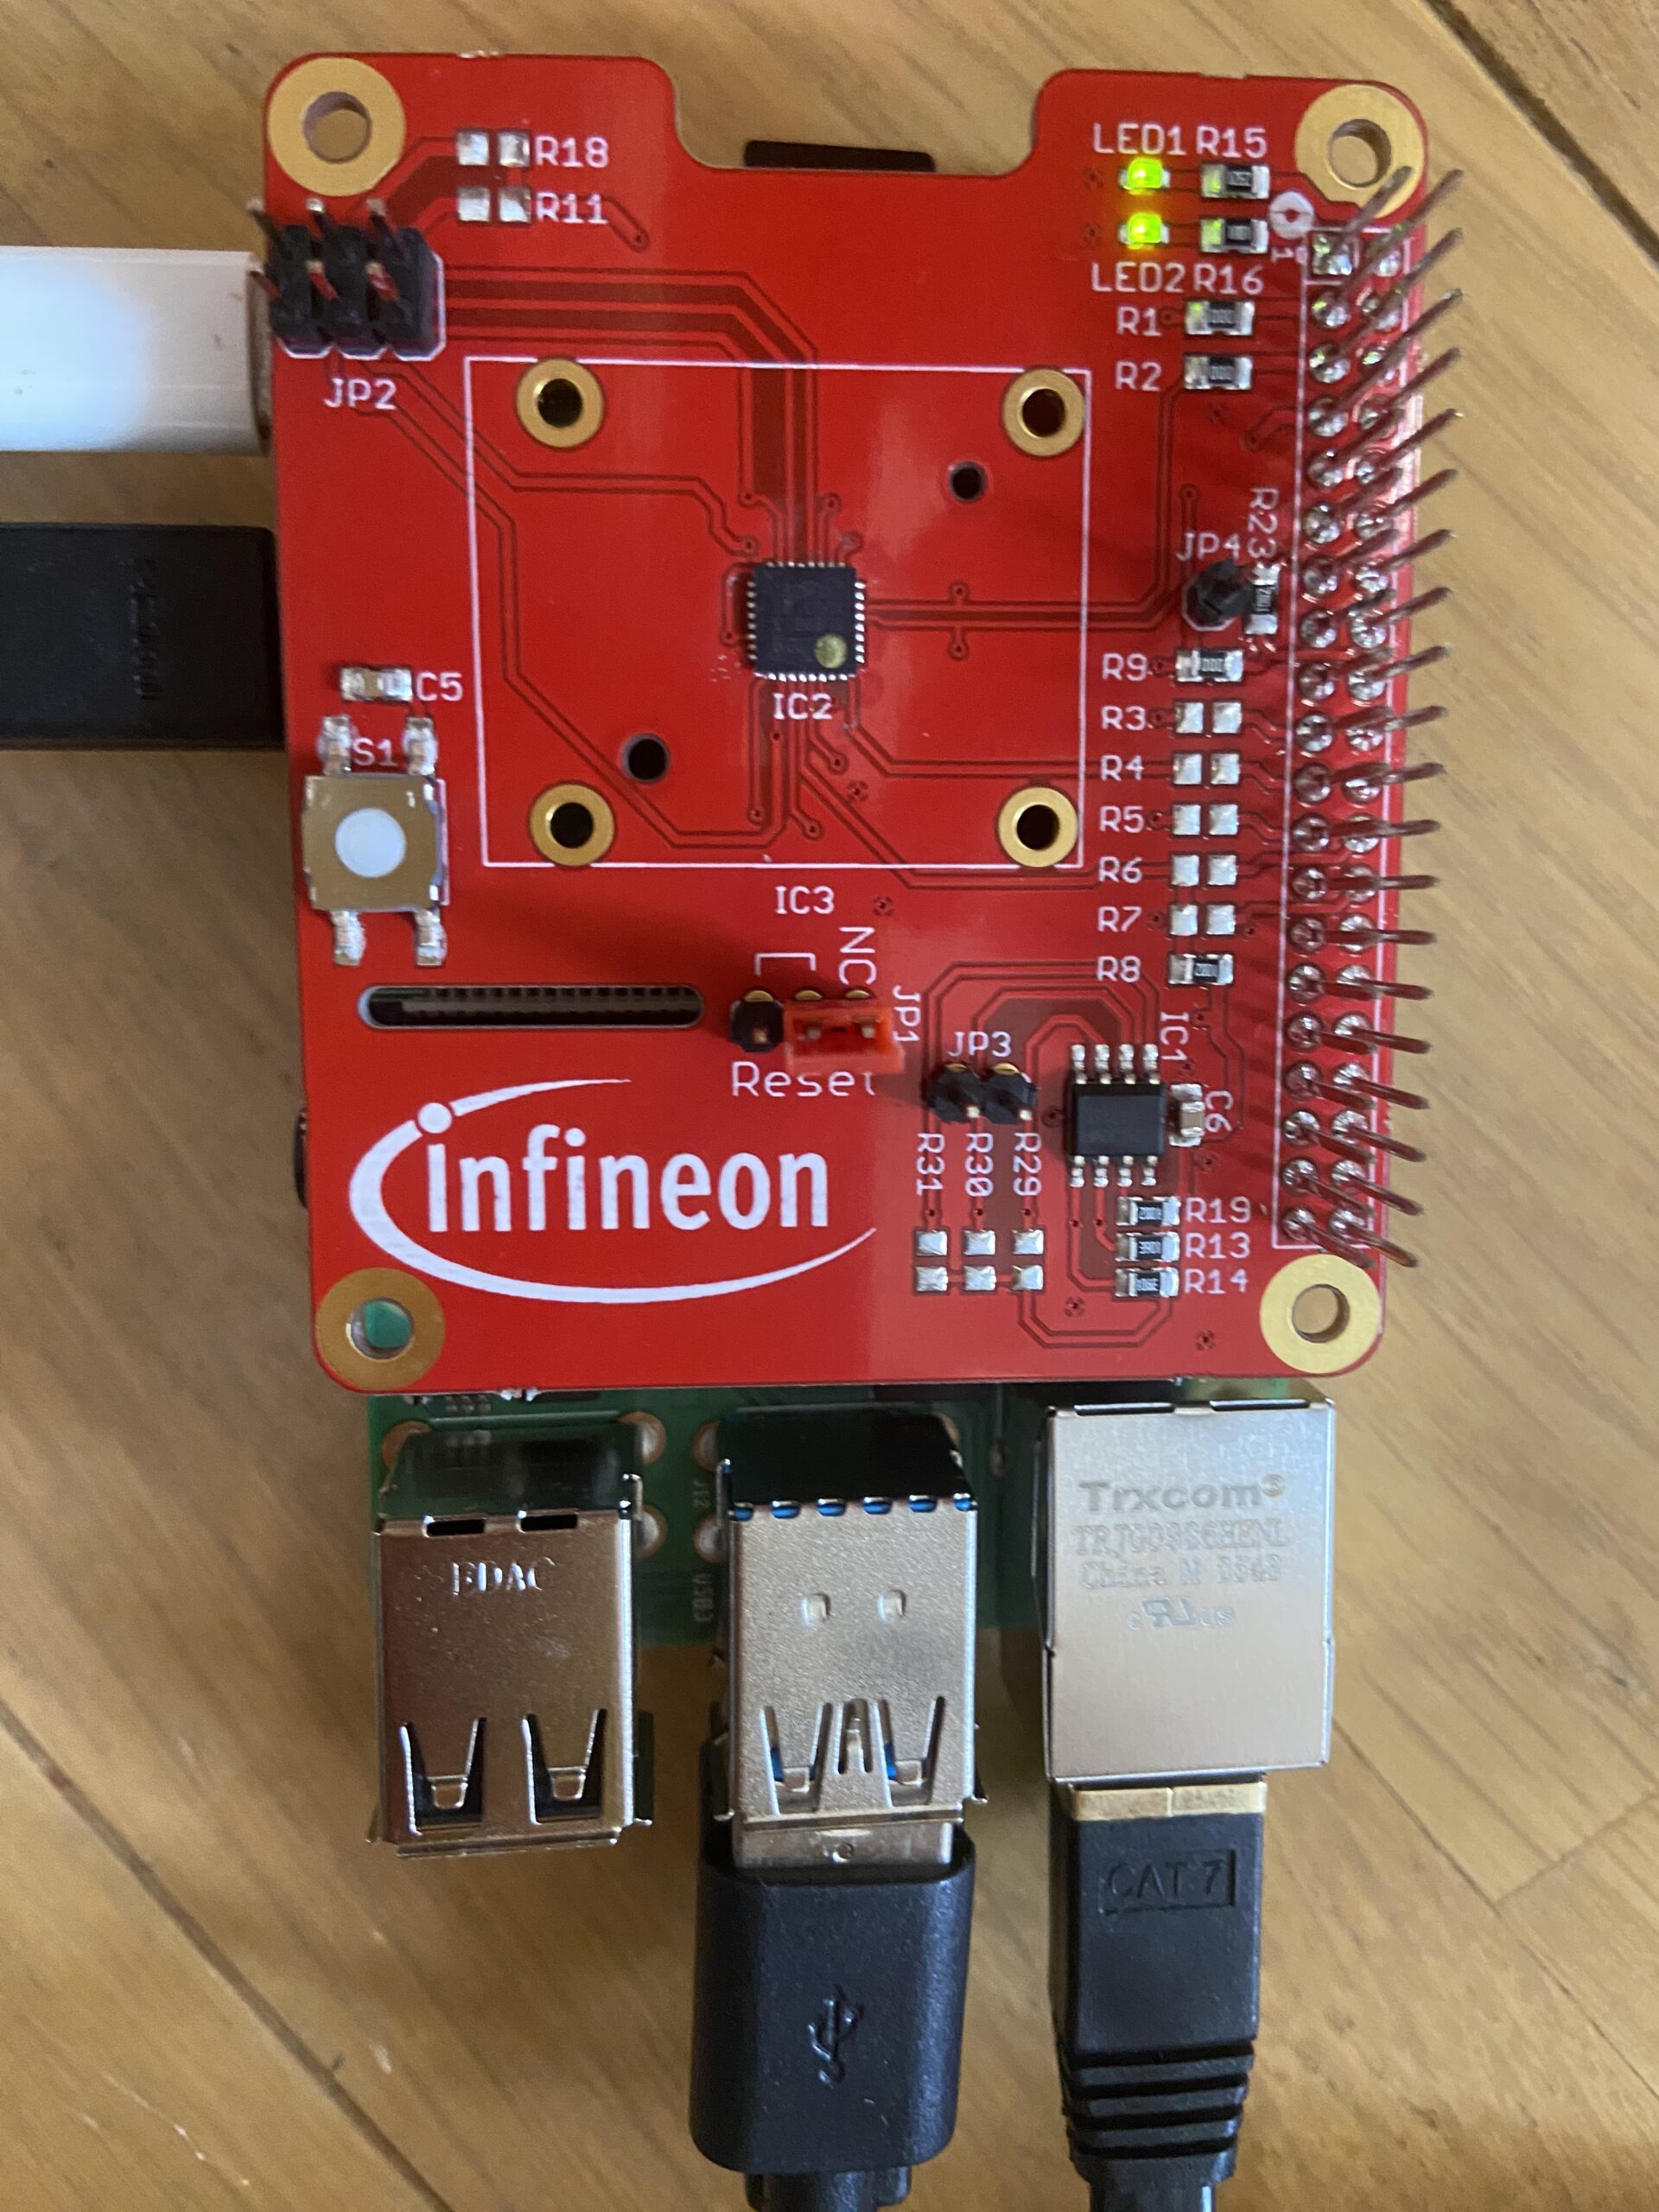
「V4は専用ドライバが要る」は半分ウソだった ── RTL-SDR Blog V4 を Ubuntu 26.04 の apt だけで動かす(自作ワンセグ復調器 #0)
最近 RTL-SDR Blog V4 を買った。目的は地デジTVを観ることではなく、ワンセグ(ISDB-T 1…
-
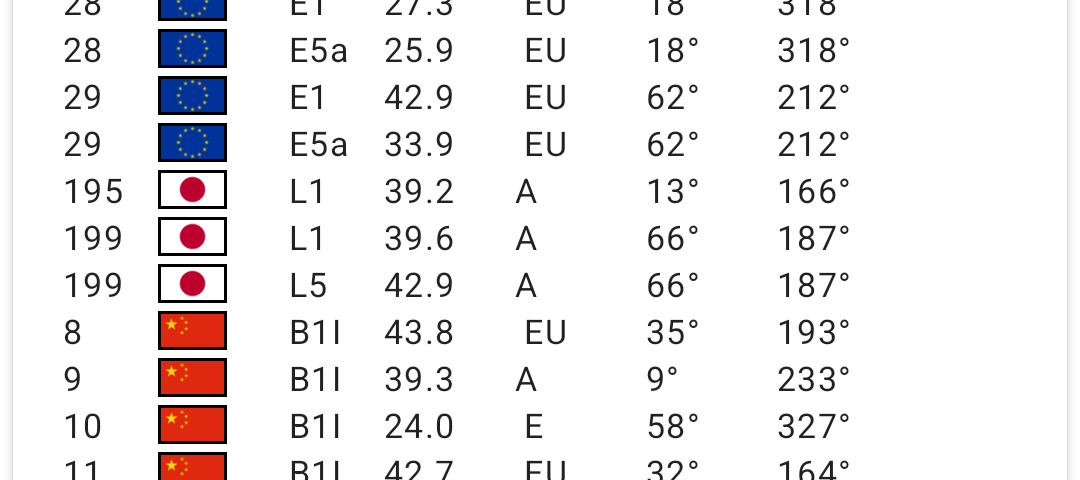
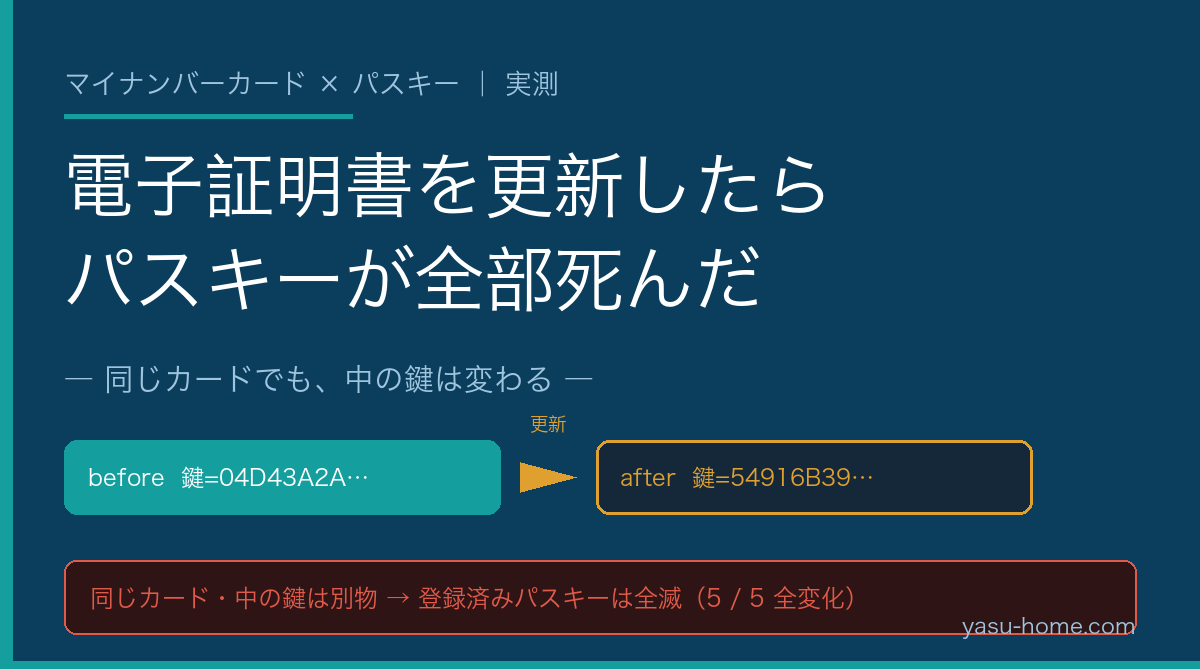
スマホ単体で「みちびきの信号認証」はできるのか ── Pixel 10 を実測したら生の航法電文が「SV60」まで降っていた
最近のスマホは「みちびき(QZSS)対応」を謳います。では スマホ単体で、みちびきの信号認証(QZNMA)まで…